Thursday, June 30, 2011

Upcycled String T-Shirt Scarf!

I have been going through my craft room lately, looking through all of my "needs to be refashioned pile" and I found this old yet still cool Rain Forest Cafe shirt... I loved the rain forest cafe! I totally recommend it to anyone! haha Now as I was saying I found this old ribbed knit (has to be a knit) tie dyed t-shirt that was begging to be made into something pretty... do you ever have clothes that you want to refashion and know just what to do with them? That's the kind of moment I had with this shirt...
I give you... Upcycled String T-Shirt Scarf!
 Just grab any old (or new) t-shirt, scissors (or rotary cutter and mat)... Let's get started!

 Put the bottom of the T-shirt together (the hem) and cut it off (shown in two photos below).

Cut the shirt into 2 inch strips all the way up to the arm pit seam.  You should get 4-6 strips depending on the size.
 Like so!
 Now take a strip of the shirt, I had a total of 5, but you can have as many as you want!  The shirt could be white and you could dye it or you could even have (I thought about this a lot, okay) multiple t-shirts with ton's of different colors!  
 Stretch the strip as far as it will go!
Repeat with all other strips.  Gather all the stretched strips and put the together.
 Take a bit of the sleeve, stretch it, and tie a knot through all the pieces!
 Like so...
 You DONE!  Think of all the fun colors and ways you can wear it!  Here are three ways... #1 Just put it over your head.
 #2 Wrap around your head twice!
 #3 Knot to bottom..
Enjoy!

Meg

Monday, June 27, 2011

One Awesome Week Planned!

This week is going to be awesome (yes, I do know it's Monday) first up we have quilt camp for kids (I will be mentoring my sister), then we hop, skip, and jump over to Cheri's blog I am Momma Hear me Roar!  for Hair week!! Oh, YES! It's awesome but only to bad for me 'cause I just cut my hair like way shorter! (pics coming soon)

I am so excited and can't wait to share all the photos and especially the "action" shots of my sister sewing her first quilt!  Ahhhh... good times! What are you doing this week??

Last bit of news I leave you with is... This BEAUTIFUL photo!


{via}

Friday, June 24, 2011

The T-Shirt Bag (15 minutes tops)

This has to be one of my favorite tutorials of all time!! This is so simple, quick, fun, easy, and stylish!  I think it took me less than ten minutes to make, so that's extra brownie points! wink! I know that you are dieing to make your own... here's how.
I bring you....
Here's what you need to make this awesome bag!
Yourself (duh!)
An old shirt, any size, shape, or style....Might look awesome made from a tank top?
Scissors
Sewing Machine
Let's get started!
Gather all your supplies.  Lay your T-Shirt out flat.  Since my shirt had exposed seams I didn't need to flip it inside out, but if yours doesn't have them like that then flip it!
 Next cut off the sleeves.
 Now cut the neckline down a bit (as I found mine to be too small) and don't worry about sewing it if your shirt is a knit because it rolls and doesn't fray.
 Sew about 3/4" in from the hem with a straight stitch.  Then go back and sew a wide zig zag next to it!
 Flip back out and your bag is ready to hit the stores!  They are Eco friendly and super cute!!  Just take a look at the images below!
 It matches my sisters outfit! WAY cute!!
Enjoy!
Maegan

Thursday, June 23, 2011

The Clutch Refashion that almost didn't happen...

So I have been working on this project for almost a week now, first I thought it needed straps (that's why it almost didn't happen, but I won't go into it)...  Here's how it decided to turn out...
I've had these pants since I was 8 or 9.  I thought they were the COOLEST thing!   I used to drive my Dad (my Mom liked them) crazy wearing them everywhere!   (I mean everywhere!)   Those pants held a special memory that will be with me forever.  But sadly they didn't fit and were stuffed into my refashion box where they were hiding until I happened to spy!
So for this tutorial you could add straps, but as I said before they didn't wish to be on my bag...
Let's begin shall we?? 
Here's what you need:
1 pair of pants (jeans, cotton...etc.)
Sewing machine
Pins
Sew on Snaps
Scissors or rotary cutter and mat

Gather all your supplies! Lay your pants out flat and cut an even line directly above the crotch. Edited in later~~Be sure to save you pant bottoms! Waste not want not! wink!
It will should look like the image below... Get ready to sew!

 Turn your pants wrong side out and sew a 1/2" seam (I sewed my twice for support) all along to bottom edge.
 You clutch is almost ready!!!  Now sew on a snap to keep it closed AND you now have a one of a kind clutch!  
My sister is modeling the bag for me.  I think it goes great with her shirt! ;)
 I was thinking of all the different types of pants/jeans you could use!  Like a high waisted jean pant (the top would fold over), or even some rad colored pants (like mine)!
xo

Meg

Wednesday, June 22, 2011

Let's talk...on what it means to be beautiful!

Elise has a really cool blog post on beauty that I was included in! You should totally stop by and check it out here! (you should see her rab blog while you're there! ;)

Monday, June 20, 2011

{What I wore to drop off the dry cleaning}...

Mom to Me: Meg, did we drop off Dad's dry cleaning??

Meg to Mom: Uh! No.... We better hurry though so they can clean it today!

Envision a mad scramble to get ready ~~ Dressed in ten and we're out the door! (we took the photos after we returned home! ;)

Do you ever have one of those days where you forgot to do something and you just throw on whatever looks good?  Well, this is just one of those days! Teehee... Enjoy!
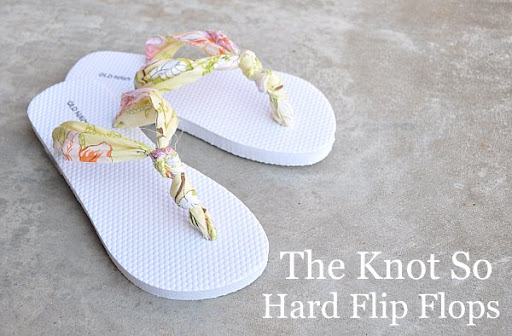


Shoes~~Madden Girl
Skirt~~Grace Elements
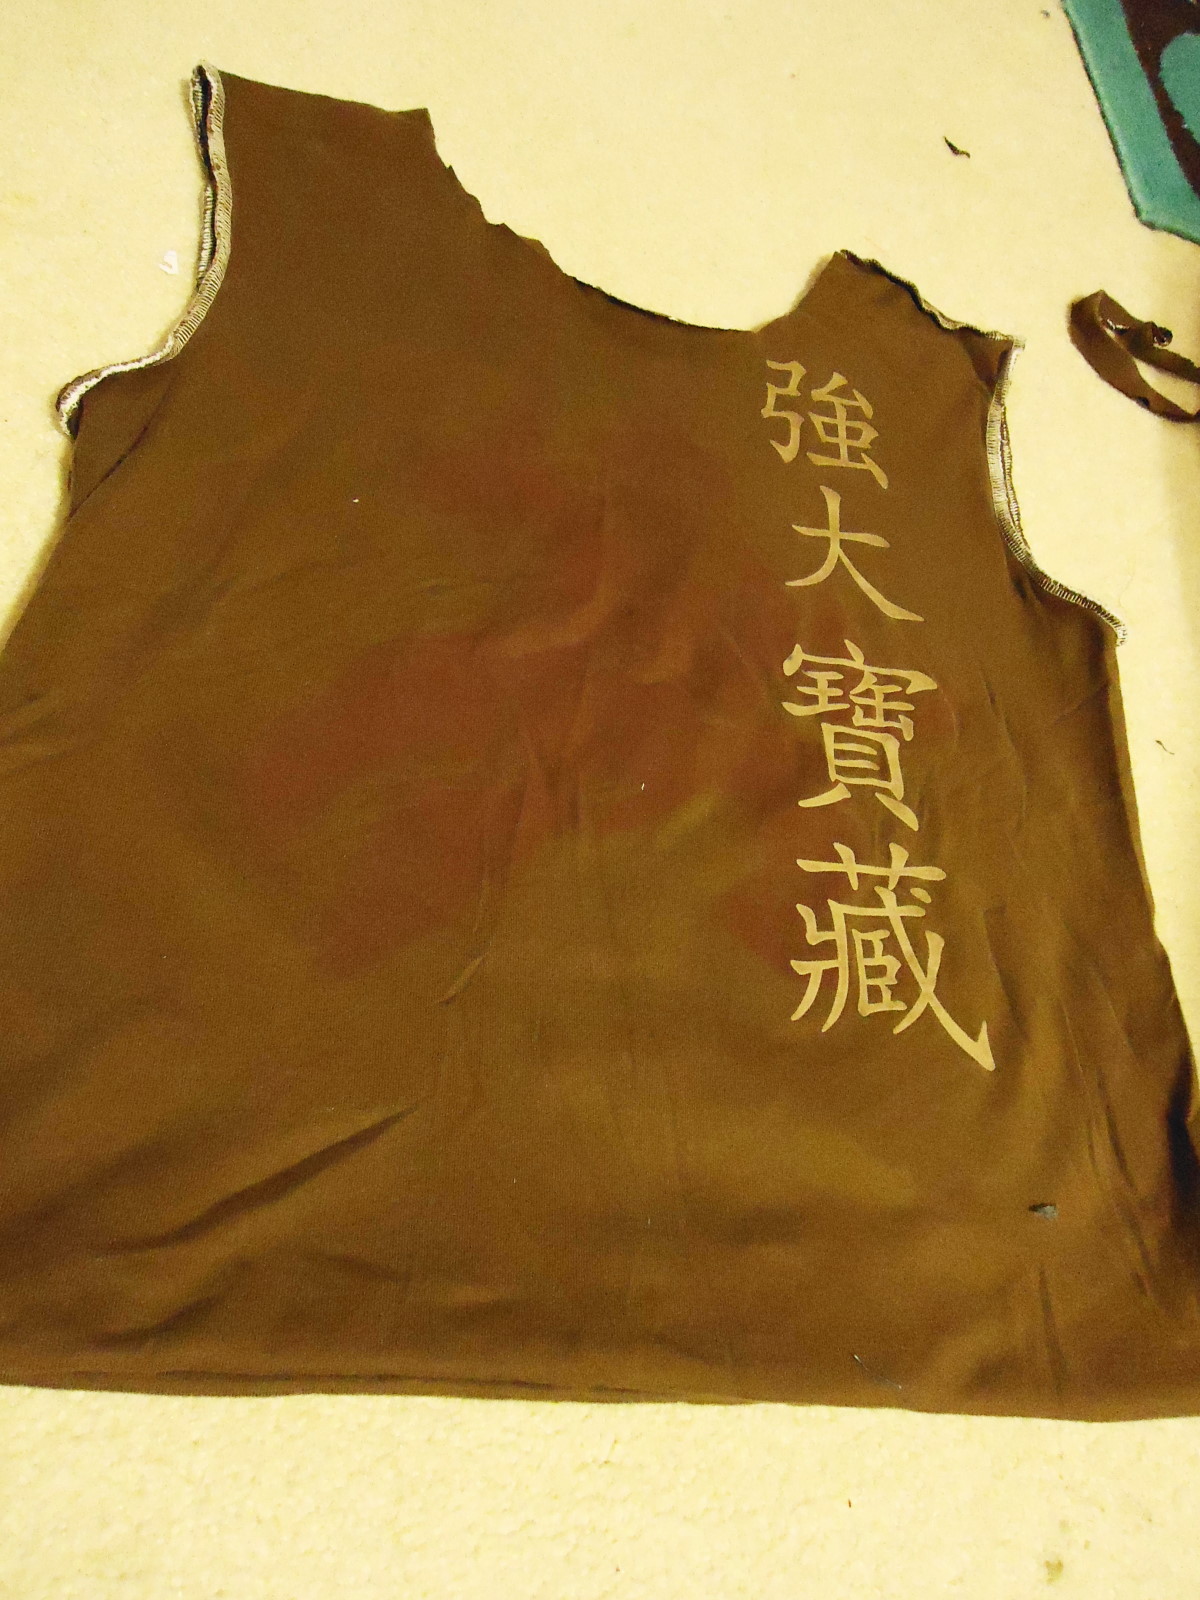
Shirt~~Express
Cuff courtesy of~~World Shaking Designs


Friday, June 17, 2011

{tutorial} Easy Peasy Mango Pops!

I have a quick tutorial for you today... it's super easy and they taste SO good!!
I bring you... (wait for it)
How yummy do they look?? Bet you want to make your own!
Here's what you need:Popsicle Mold ~~ Wal-Mart, Target, or your can find them online.Naked Mango Liquid smoothie ~~You could subsitute this for anything liquid and you can add fruits, sweets, etc. Have fun making them!! Popsicle sticks
Gather all your supplies beforehand!Shake up your liquid.
 Rinse out your molds~~optional.

 Get your sticks ready.

 Pour to the the fill line on each mold...
 It will then look like this.

 Stick the sticks inside them! :)
 Pop into the freezer and wait a couple of hours for them to freeze!


Enjoy!  The cool thing about these is that you control what goes into it, and you can make your own flavor!
xoMeg

Thursday, June 16, 2011

When it rains it pours...and causes thunderstorms!

You know those days when it rains and all you want to do is watch??
Today is one of those days!...

via

via

What do you love most about the rain??

Tuesday, June 14, 2011

Tutorial Round Up!

Today I am taking the time to feature other people... here are a list of my top five tutorials at the moment! Some I have made others are in the books! ;)

Simple Summer Headbands!

Peasant Blouse Refashion Tutorial! I have many shirts waiting to be made into this! :)

Knot so hard Flip Flops!  I even have the fabric and flip flops together... now I just need the time!

Uber cute T-Shirt Refashion and Giveaway!

REALLY awesome Shoe Makeover!    I have made a pair of shoes from this tutorial... but I plan on posting about them later this week~ :)
What tutorials are you loving right now??
xo
Meg